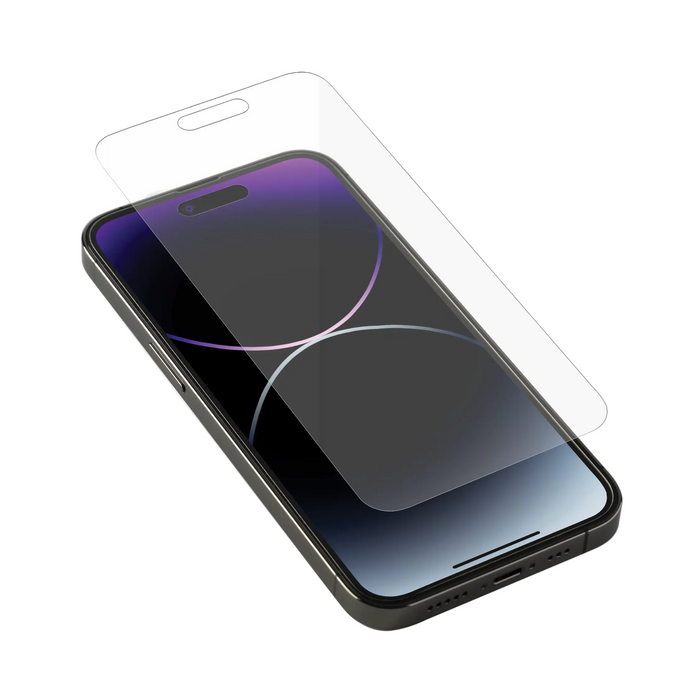
Installing a screen protector on your iPhone can seem daunting, especially if you’re worried about bubbles or misalignment. However, with the right approach and preparation, anyone can achieve a flawless application. This guide outlines easy steps to help you apply a screen protector effectively, ensuring your device remains protected from scratches and damage.
Preparing for Installation
Before beginning the installation process, it’s crucial to prepare both your workspace and your device. A clean and organized environment will minimize the risk of dust and other particles getting trapped under the screen protector.
- Choose a dust-free environment, such as a bathroom after a hot shower, where steam has settled the dust.
- Gather necessary tools: a microfiber cloth, dust remover stickers, and an installation guide specific to your screen protector.
- Wash and dry your hands thoroughly to prevent fingerprints on the screen protector.
Cleaning Your iPhone Screen
Ensuring that your iPhone screen is spotless is a crucial step in the installation process. Any dirt or dust particles can create bubbles or prevent the screen protector from adhering properly.
- Use a microfiber cloth to wipe the screen gently, removing any smudges or fingerprints.
- If necessary, use a small amount of screen-friendly cleaning solution for stubborn spots.
- Follow up with a dust remover sticker to ensure the screen is entirely dust-free.
Applying the Screen Protector
The actual application of the screen protector is where many encounter issues. However, by following these steps, you can achieve a perfect fit.
- Carefully peel off the backing of the screen protector, taking care not to touch the adhesive side.
- Align the screen protector with your iPhone’s edges and buttons. Starting from one end can help in achieving perfect alignment.
- Gently lay the protector onto the screen, allowing it to adhere naturally.
- Use a credit card or a similar object wrapped in a microfiber cloth to push out any bubbles, starting from the center and moving outward.
For more detailed instructions and advanced techniques, explore advanced guides and tips to ensure the best results.
Final Touches and Troubleshooting
After applying the screen protector, it’s important to check for and resolve any issues such as bubbles or misalignment.
Dealing with Bubbles
While minor bubbles often disappear over time, larger ones may require additional attention.
- Use the edge of a credit card to gently push the bubbles towards the edge of the screen.
- If bubbles persist, lift the edge of the screen protector nearest to the bubble and reapply slowly.
For more troubleshooting tips, discover expert strategies here.
Ensuring Proper Adhesion
To ensure that the screen protector adheres properly and stays in place:
- Avoid using the phone or placing it in a pocket for at least 30 minutes after application.
- Recheck the alignment and press down firmly along the edges to secure the adhesion.
For ongoing maintenance and to learn about our tailored solutions, consider regular cleaning and periodic checks.
Conclusion
Installing a screen protector on an iPhone doesn”?t have to be a complicated endeavor. By following these easy steps and preparing adequately, anyone can apply a screen protector like a pro. For more comprehensive guidance and professional advice, find out more about this approach to keep your device protected and in pristine condition.

